Blow-Dry Brushes
How to Use a Blow-Dry Brush Properly
A hot air brush is a finishing tool that people use as a drying tool. Fix that one thing and the session halves.
Updated September 2026 · Sawyer V.
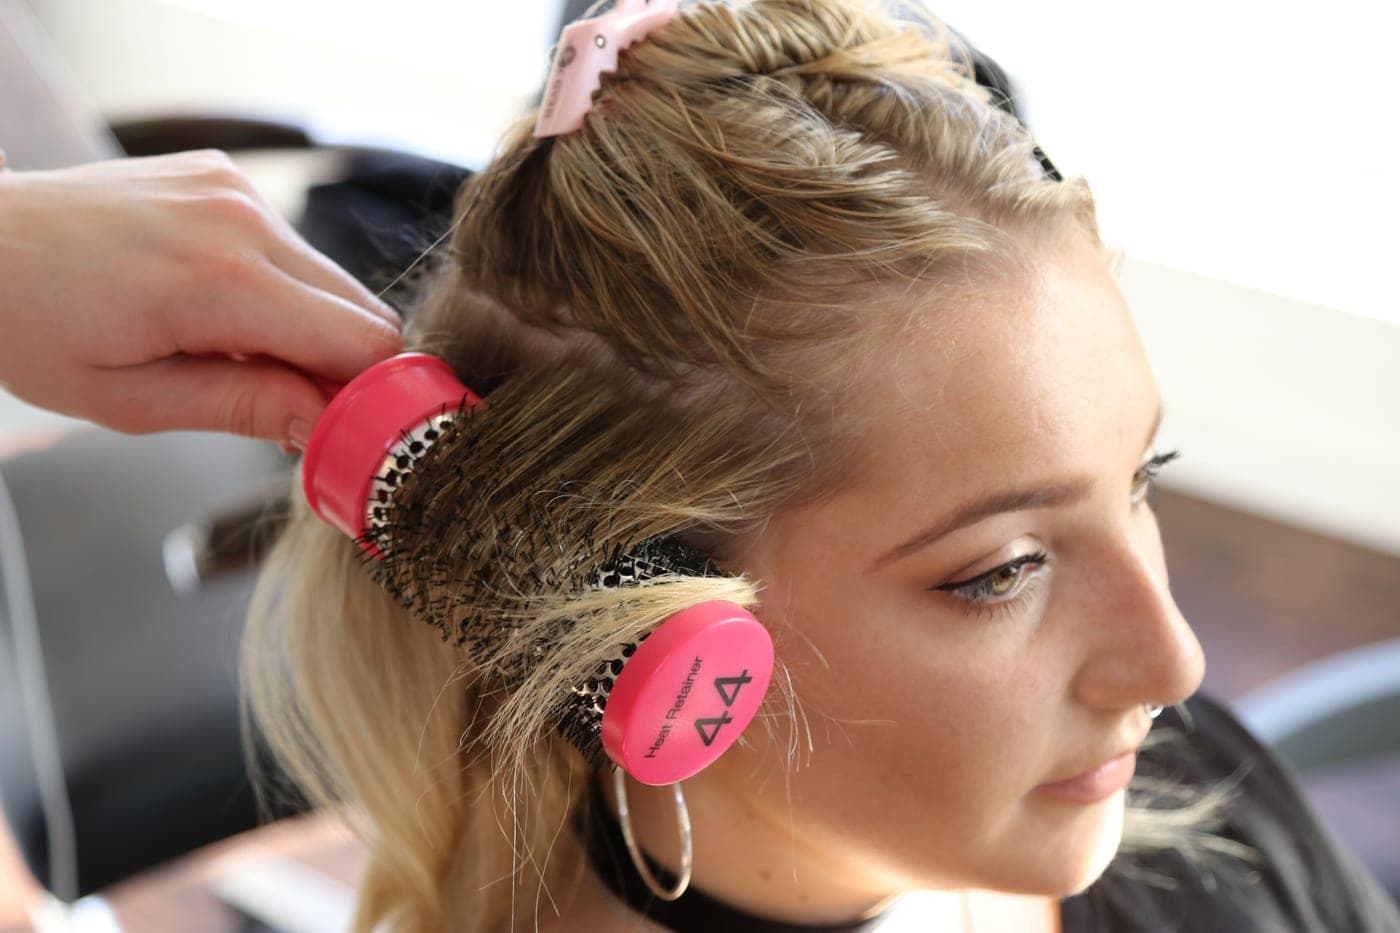
Rough-dry to about 80 percent first, then work in sections roughly the width of the brush, drawing root to tip under tension. Finish each section on cool while it is still wrapped. Using one on soaking hair is the mistake that makes the whole session take twice as long.
We earn a commission if you buy through the links on this page, at no extra cost to you. It never changes which tool we pick or which one we tell you to skip. How this site is funded.
What the tool actually is
A blow-dry brush combines the two hands of a traditional blowout into one. Normally you hold a dryer in one hand and a round brush in the other, and the skill is coordinating them — which is why most people cannot replicate a salon blowout at home.
The brush merges them, and in doing so it gives up something: airflow. The air has to come out through the bristle field rather than a nozzle, so it is slower and gentler by design. That makes it excellent at shaping and mediocre at bulk drying, which is the source of nearly every complaint about these tools.
The method
1. Get the hair to 80 percent dry first
Squeeze with a towel, then either rough-dry with a normal dryer on the bare nozzle or let it air-dry until it stops feeling wet and starts moving freely. This is the step that decides whether the session takes eight minutes or twenty-five.
If you only own the brush, use it on its highest speed with no technique at all for the rough-dry phase, then switch to the method below. Do not try to shape soaking hair — you cannot, and you will hold heat on it for ages trying.
2. Section, and use more sections than you think
Clip the hair into four to six sections. Then work with sub-sections roughly the width of the brush head and no thicker than an inch. A section thicker than that has hair in the middle that never touches the bristles and never sees the airflow.
Start underneath at the nape and work up. The top layer is what people see, so it should be the freshest and the last thing you do.
3. Root first, with the section lifted
Place the brush under the section at the root and lift it away from the head — up and slightly back for volume, or the opposite way if you want it flat. Hold there for a few seconds. The root is where the direction of a whole style is decided, and it is the part people rush.
4. Draw root to tip, slowly, under tension
Then move the brush down the section in one steady pass, keeping the hair taut against the bristles the whole way. Tension is doing half the work: it is what pulls the cuticle flat and makes the difference between shiny and fluffy.
One slow pass beats three quick ones — the same arithmetic as with an iron. Total heat exposure is temperature multiplied by contact time, and repeat passes are the term you can actually cut. That argument is spelled out on the flat iron technique page.
5. Turn the ends, if you want them turned
At the last inch or two, rotate the brush half a turn and hold. Under for a classic blowout, out for a flick. This is the only part of the motion that is a rotation rather than a draw.
6. Finish on cool, while it is still wrapped
Hair sets as it cools, not while it is hot. If the brush has a cool setting, switch to it for the last two seconds of each section with the hair still on the brush. If it does not, just stop the heat and hold.
This one step is the difference between a style that survives to the evening and one that drops by eleven. It is also the reason a published cool setting is worth looking for — the Revlon One-Step Plus publishes one among four heat settings; T3 publishes three heat settings with no cool among them.
The four mistakes
- Starting on soaking hair. The single biggest one. The brush is a finishing tool. Rough-dry first.
- Sections that are too thick. If the middle of the section is still damp when you finish, the section was too big, and you are about to go over it again.
- Moving too fast. Speed does not reduce heat exposure if it forces a second pass. One slow, tensioned draw is both faster overall and gentler.
- Skipping the cool finish. Everything you just did is unfixed until the hair cools in position. It costs two seconds a section.
On damaged or color-treated hair
Tension plus heat is exactly the combination that finds existing weaknesses. Repeated brushing and combing behaves like a fatigue process — flaws propagate through the fiber until it fails — Evans and Park, Journal of Cosmetic Science — and that same work found conditioning treatments provided considerable retardation of breakage.
The practical version: use less tension on damaged lengths than on healthy roots, and use a heat protectant. Neither is a marketing claim, and what a heat protectant does and does not do is worth reading before you rely on one.
How often is reasonable
A blow-dry brush is one of the gentler heat tools, because the air is slower and there is no clamped plate. That does not make it free. The honest framework — how heat exposure accumulates and what a sustainable weekly pattern looks like — is on the how-often page.
If your hair is genuinely fragile, the alternative that costs nothing is on the heat-free styling page.
Cleaning it, because this is how they die
These tools draw air in through a vent and out through the bristles. Lint and shed hair collect at the intake, airflow drops, the element runs hotter, and the tool either burns out or starts smelling. It is the most predictable failure in the category and the easiest to prevent.
Pull the hair out of the bristles after every few uses, and clean the intake filter monthly. If your brush has a detachable head — the Revlon One-Step Plus publishes one, the Salon One-Step does not — this takes a minute. Step by step on the maintenance guide.
The tools on this page
Prices come from the live price layer. Where none is available the button says so rather than showing a number we cannot stand behind.
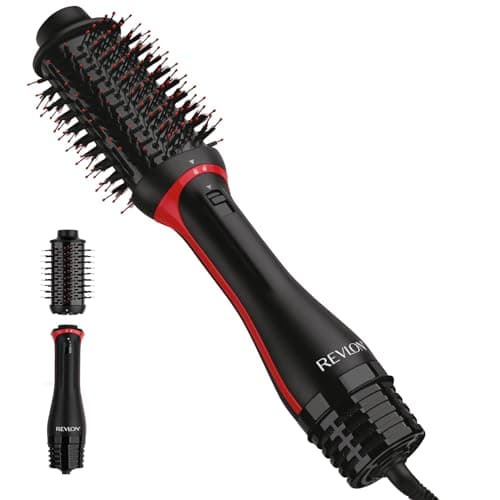
Revlon One-Step Volumizer Plus hair dryer and hot air brush
A 4-year limited warranty, the longest in this registry, on the cheapest kind of tool in it. Worth noticing before paying six times more elsewhere.
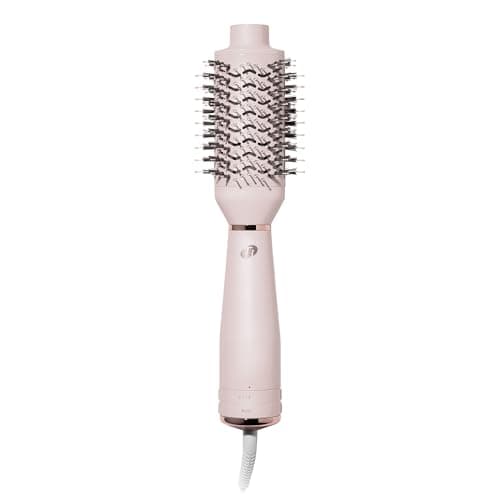
T3 AireBrush One-Step smoothing and volumizing dryer brush
Six heat-and-speed combinations against the Revlon's four heat steps, and a published weight — but half the warranty.
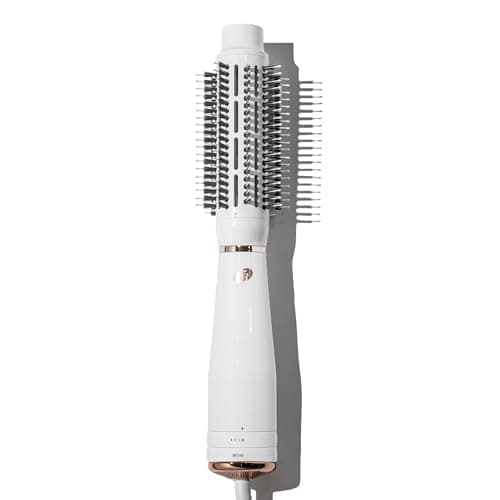
T3 AireBrush Round ionic blow-dry brush
A round barrel rather than a paddle, and the only T3 brush that publishes a wattage — the one built for lift rather than smoothing.
Questions people actually ask
Should hair be wet or dry when using a blow-dry brush?
Damp, around 80 percent dry. Soaking hair takes far too long and holds heat on it while you wait, and fully dry hair has nothing for the brush to set. Rough-dry first, then style.
Why is my blow-dry brush not giving me volume?
Almost always the root step. Volume is set by lifting the section away from the head at the root and holding it there while it dries, then letting it cool in that position. Drying hair in the direction it grew makes it flat.
How often should I clean a blow-dry brush?
Pull hair from the bristles every few uses and clean the air intake monthly. Blocked intakes are the most common failure in this category, because reduced airflow makes the heating element run hotter.
Is a blow-dry brush less damaging than a flat iron?
Generally yes, because there is no clamped plate and the air is slower. It is not free of risk though, since tension plus heat is what finds existing weak points in the fiber.