Guides
How to Section Hair (and Why It Saves Time)
The two minutes people skip at the start is the reason the session takes twenty-five minutes instead of fifteen.
Updated September 2026 · Sawyer V.
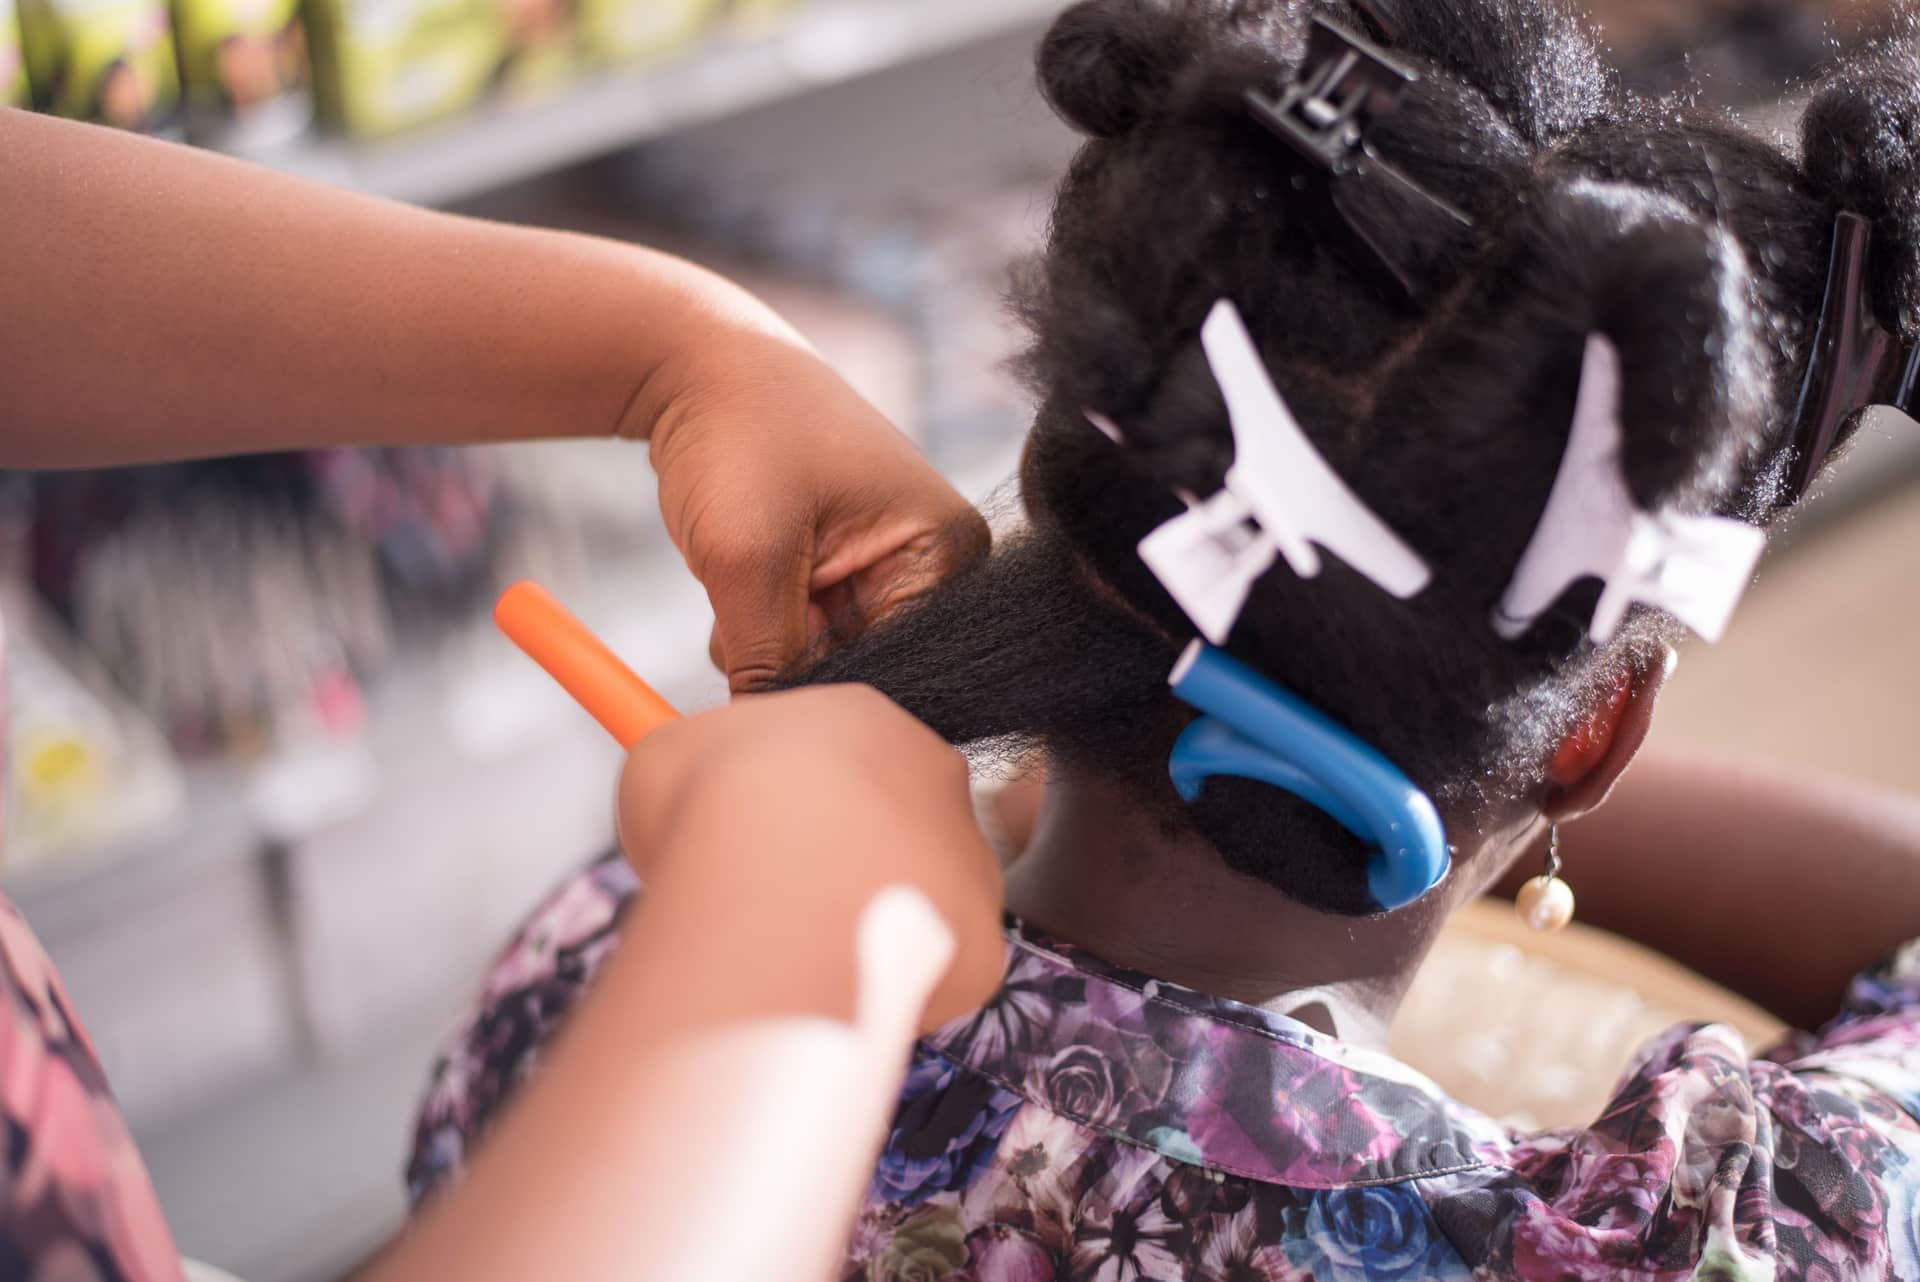
Work in four to six clipped sections, taking sub-sections about an inch thick and no wider than your tool. Start underneath at the nape and finish with the top layer. Sectioning costs two minutes and saves more, because the alternative is repeat passes.
We earn a commission if you buy through the links on this page, at no extra cost to you. It never changes which tool we pick or which one we tell you to skip. How this site is funded.
Why this is not a delay
Sectioning feels like admin. You want to dry your hair, and instead you are standing there with clips.
The arithmetic says otherwise, and it is the same arithmetic that runs through this whole site. Total heat exposure is roughly temperature multiplied by contact time, and on a whole head contact time is dominated by how many times you go over the same hair.
A section that is too thick has hair in the middle the tool never reaches. That hair stays damp, or stays unstraightened, and you notice ten minutes later and go back over it. That return trip is a second full heat application on hair that already had one — and it is entirely avoidable.
So sectioning is not a tidiness habit. It is the cheapest available way to cut pass count, which is the one variable in the damage equation you fully control.
How many, and how thick
Sections by hair volume and tool
| Your hair | Clipped sections | Sub-section thickness |
|---|---|---|
| Fine or short | 4 | About 1 in |
| Medium density, shoulder length | 4–6 | About 1 in |
| Thick or long | 6+ | Under 1 in |
| Coily or very dense | 6–8 | Under 1 in, worked in smaller areas |
The thickness number matters more than the section count. An inch is a rough guide; the real test is whether you can see through the sub-section when you hold it up to the light. If you cannot, the middle of it is not getting heat, and you will be back.
Width is set by your tool, not by your hair. A sub-section wider than your plate, barrel or brush head cannot make even contact — so a 1 inch iron wants a 1 inch section, and a wide plate can take more. That is part of why wide plates finish dense hair faster, argued on the plate size page.
The standard four-section split
This is the one to learn first, and it works for almost everything.
- Part down the middle, ear to ear across the crown. That gives you four quadrants: two at the back, two at the front.
- Clip three of them up and work from the bottom of the fourth, taking horizontal sub-sections and letting hair down as you go.
- Start at the nape, on one of the back quadrants. The back is the hardest to reach and the easiest to rush, so do it while you are patient.
- Finish with the top layer. It is what people see, so it should be the freshest and the last thing you touch.
For volume-focused styling, add a fifth section: a rectangle across the top of the head from the front hairline back to the crown. That mohawk section is where root lift is set, and treating it separately is what stops it getting flattened by everything you do underneath.
Order changes the result, not just the speed
Working bottom-up is not arbitrary. Two reasons.
The first is heat exposure. Every section you finish sits there while you do the rest, and hair near a working dryer picks up ambient heat. The layers you finish first get the most incidental exposure, so put the under-layers — which nobody sees — first.
The second is that styles set as they cool. Hair takes its shape when it cools rather than while it is hot, so the sections you did first have had the longest to set by the time you finish. Working bottom-up means the visible top layer is the freshest, which is the opposite of what happens if you start on top.
That cooling principle is the single highest-value fact in styling and it is why so many results drop by lunchtime — the full version is here.
What sectioning does for each tool
The specific saving, by tool
| Tool | What goes wrong unsectioned | What sectioning fixes |
|---|---|---|
| Hair dryer | Outside dries, inside stays damp, you go back | Even drying; a shorter total session |
| Flat iron | Middle of the section is unstraightened after a pass | One pass per section instead of two or three |
| Curling iron | Half the curl holds and half drops | Even heat, so the whole section sets together |
| Blow-dry brush | Hair never contacts the bristles, so no tension | Tension across the whole section — which is half the smoothing |
| Air styler | Section too wide to wrap, will not catch | The Coanda effect actually works |
Note the last row. On an air styler, sectioning is not an optimization — the tool simply does not function on a section wider than its barrel. Almost every “my Airwrap does not work” complaint is this or dampness, covered on the air styler technique page.
Clips matter more than you would think
Not much, but a little. Metal-toothed clips leave dents in hair that is still warm or damp, and those dents show up as kinks in the finished style. Wide, smooth clips that hold without pressing are what you want.
The other habit worth having: clip loosely enough that you are not creating tension at the root all session. Sustained pull on the same spot is exactly the mechanical stress that finds weak points, and it is avoidable — why tension matters.
Where people get it wrong
- Taking sub-sections that look reasonable. They are almost always too thick. Hold one up to the light — if it is opaque, halve it.
- Starting on top because it feels productive. The top layer should be last.
- Sectioning for the iron but not for the dryer. The dryer is where uneven drying is created, and the iron then inherits it.
- Letting finished sections fall into unfinished ones. Clip completed hair out of the way, or you will restyle it by accident.
The time it actually costs
Two minutes to clip, and a few seconds per sub-section. Against that, a single avoided repeat pass across a whole head is several minutes and a full extra heat application.
We are not going to give you a total, because drying and styling times depend on hair volume and no manufacturer publishes the specification that would predict them — that argument is here. What we can say is that the trade is heavily one-sided, and that people who feel styling takes too long are usually skipping the step that shortens it.
Price per use, at 5 uses a week over 5 years
| What you pay | Cost per use | Cost per year |
|---|---|---|
| $30 | $0.02 | $6.00 |
| $60 | $0.05 | $12.00 |
| $100 | $0.08 | $20.00 |
| $150 | $0.12 | $30.00 |
| $200 | $0.15 | $40.00 |
| $300 | $0.23 | $60.00 |
| $400 | $0.31 | $80.00 |
| $500 | $0.38 | $100.00 |
5 uses a week for 5 years is 1300 uses. Both figures are stated assumptions, not measurements — halve the life and every cost per use doubles. We publish the ladder rather than a worked example for one specific product because a price we typed into a sentence would be wrong within a week.
Where to go next
Sectioning is the shared first step for every technique on this site. The tool-specific methods that follow it are on blow-drying straight, using a flat iron, using a blow-dry brush and blow-drying curly hair, which takes a different approach because disturbing a curl pattern is the thing you are avoiding.
The tools on this page
Prices come from the live price layer. Where none is available the button says so rather than showing a number we cannot stand behind.
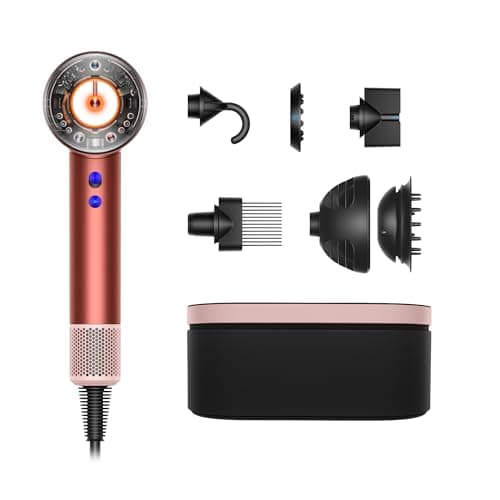
Dyson Supersonic hair dryer
1,600 W is less power than a drugstore dryer draws, and Dyson publishes that openly — the pitch is airflow and heat control, not wattage.
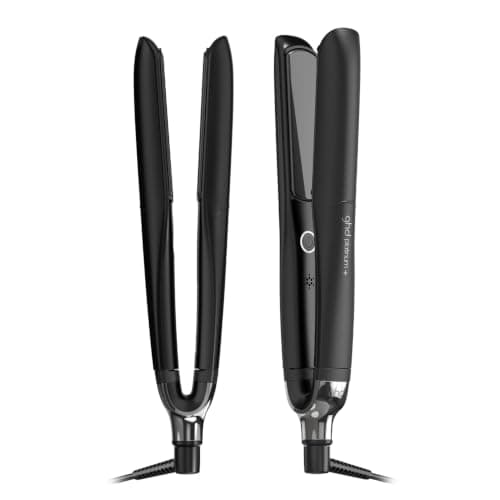
ghd Platinum+ flat iron (1 inch plate)
One temperature, 365°F, no dial to get wrong — the strongest heat-discipline argument in the category, and the longest iron warranty here at three years.
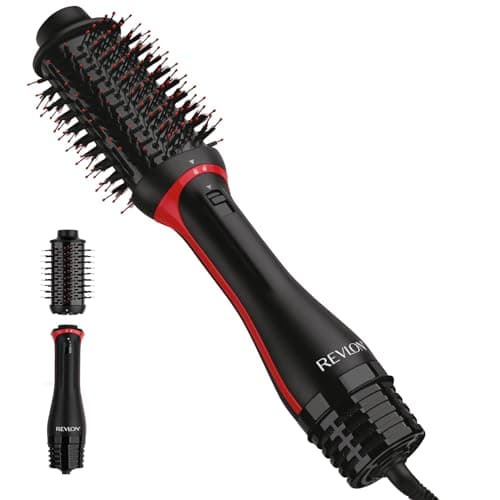
Revlon One-Step Volumizer Plus hair dryer and hot air brush
A 4-year limited warranty, the longest in this registry, on the cheapest kind of tool in it. Worth noticing before paying six times more elsewhere.
Questions people actually ask
How many sections should I divide my hair into?
Four to six for most hair, six or more if it is thick, long or coily. The sub-section thickness matters more than the count — about an inch, and thinner if you cannot see light through it.
Do I really need to section my hair to blow-dry it?
It finishes sooner if you do. An unsectioned dry leaves damp hair in the middle that you go back over, and that return trip is a second full heat application on hair that already had one.
Should I start at the top or the bottom?
Bottom, at the nape, finishing with the top layer. The top is what people see, and hair sets as it cools — so the visible layer should be the freshest and least re-exposed.
How thick should each section be?
About an inch, and no wider than your tool. Hold a sub-section up to the light: if you cannot see through it, the middle is not getting heat and you will be going over it again.